Quick Answer
Before final processing, a complete denture wax try-in should be reviewed for tooth position, midline, smile line, occlusal plane, vertical dimension, jaw relationship, lip support, phonetics, shade, tooth mould and overall esthetics. Any requested changes should be documented and approved before the dental laboratory processes the final denture. The final clinical check and approval remain the responsibility of the treating dentist.
For dental clinics working with an overseas dental lab, the wax try-in stage is also a communication checkpoint. Clear approval records help the lab know whether to process the denture, revise the setup or prepare another try-in before moving forward.
What Is a Complete Denture Wax Try-In?
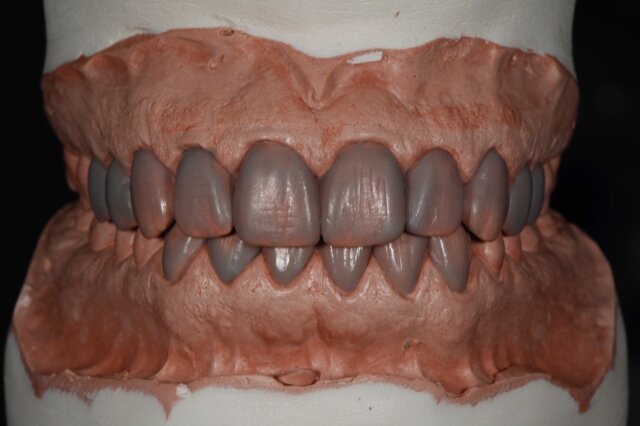
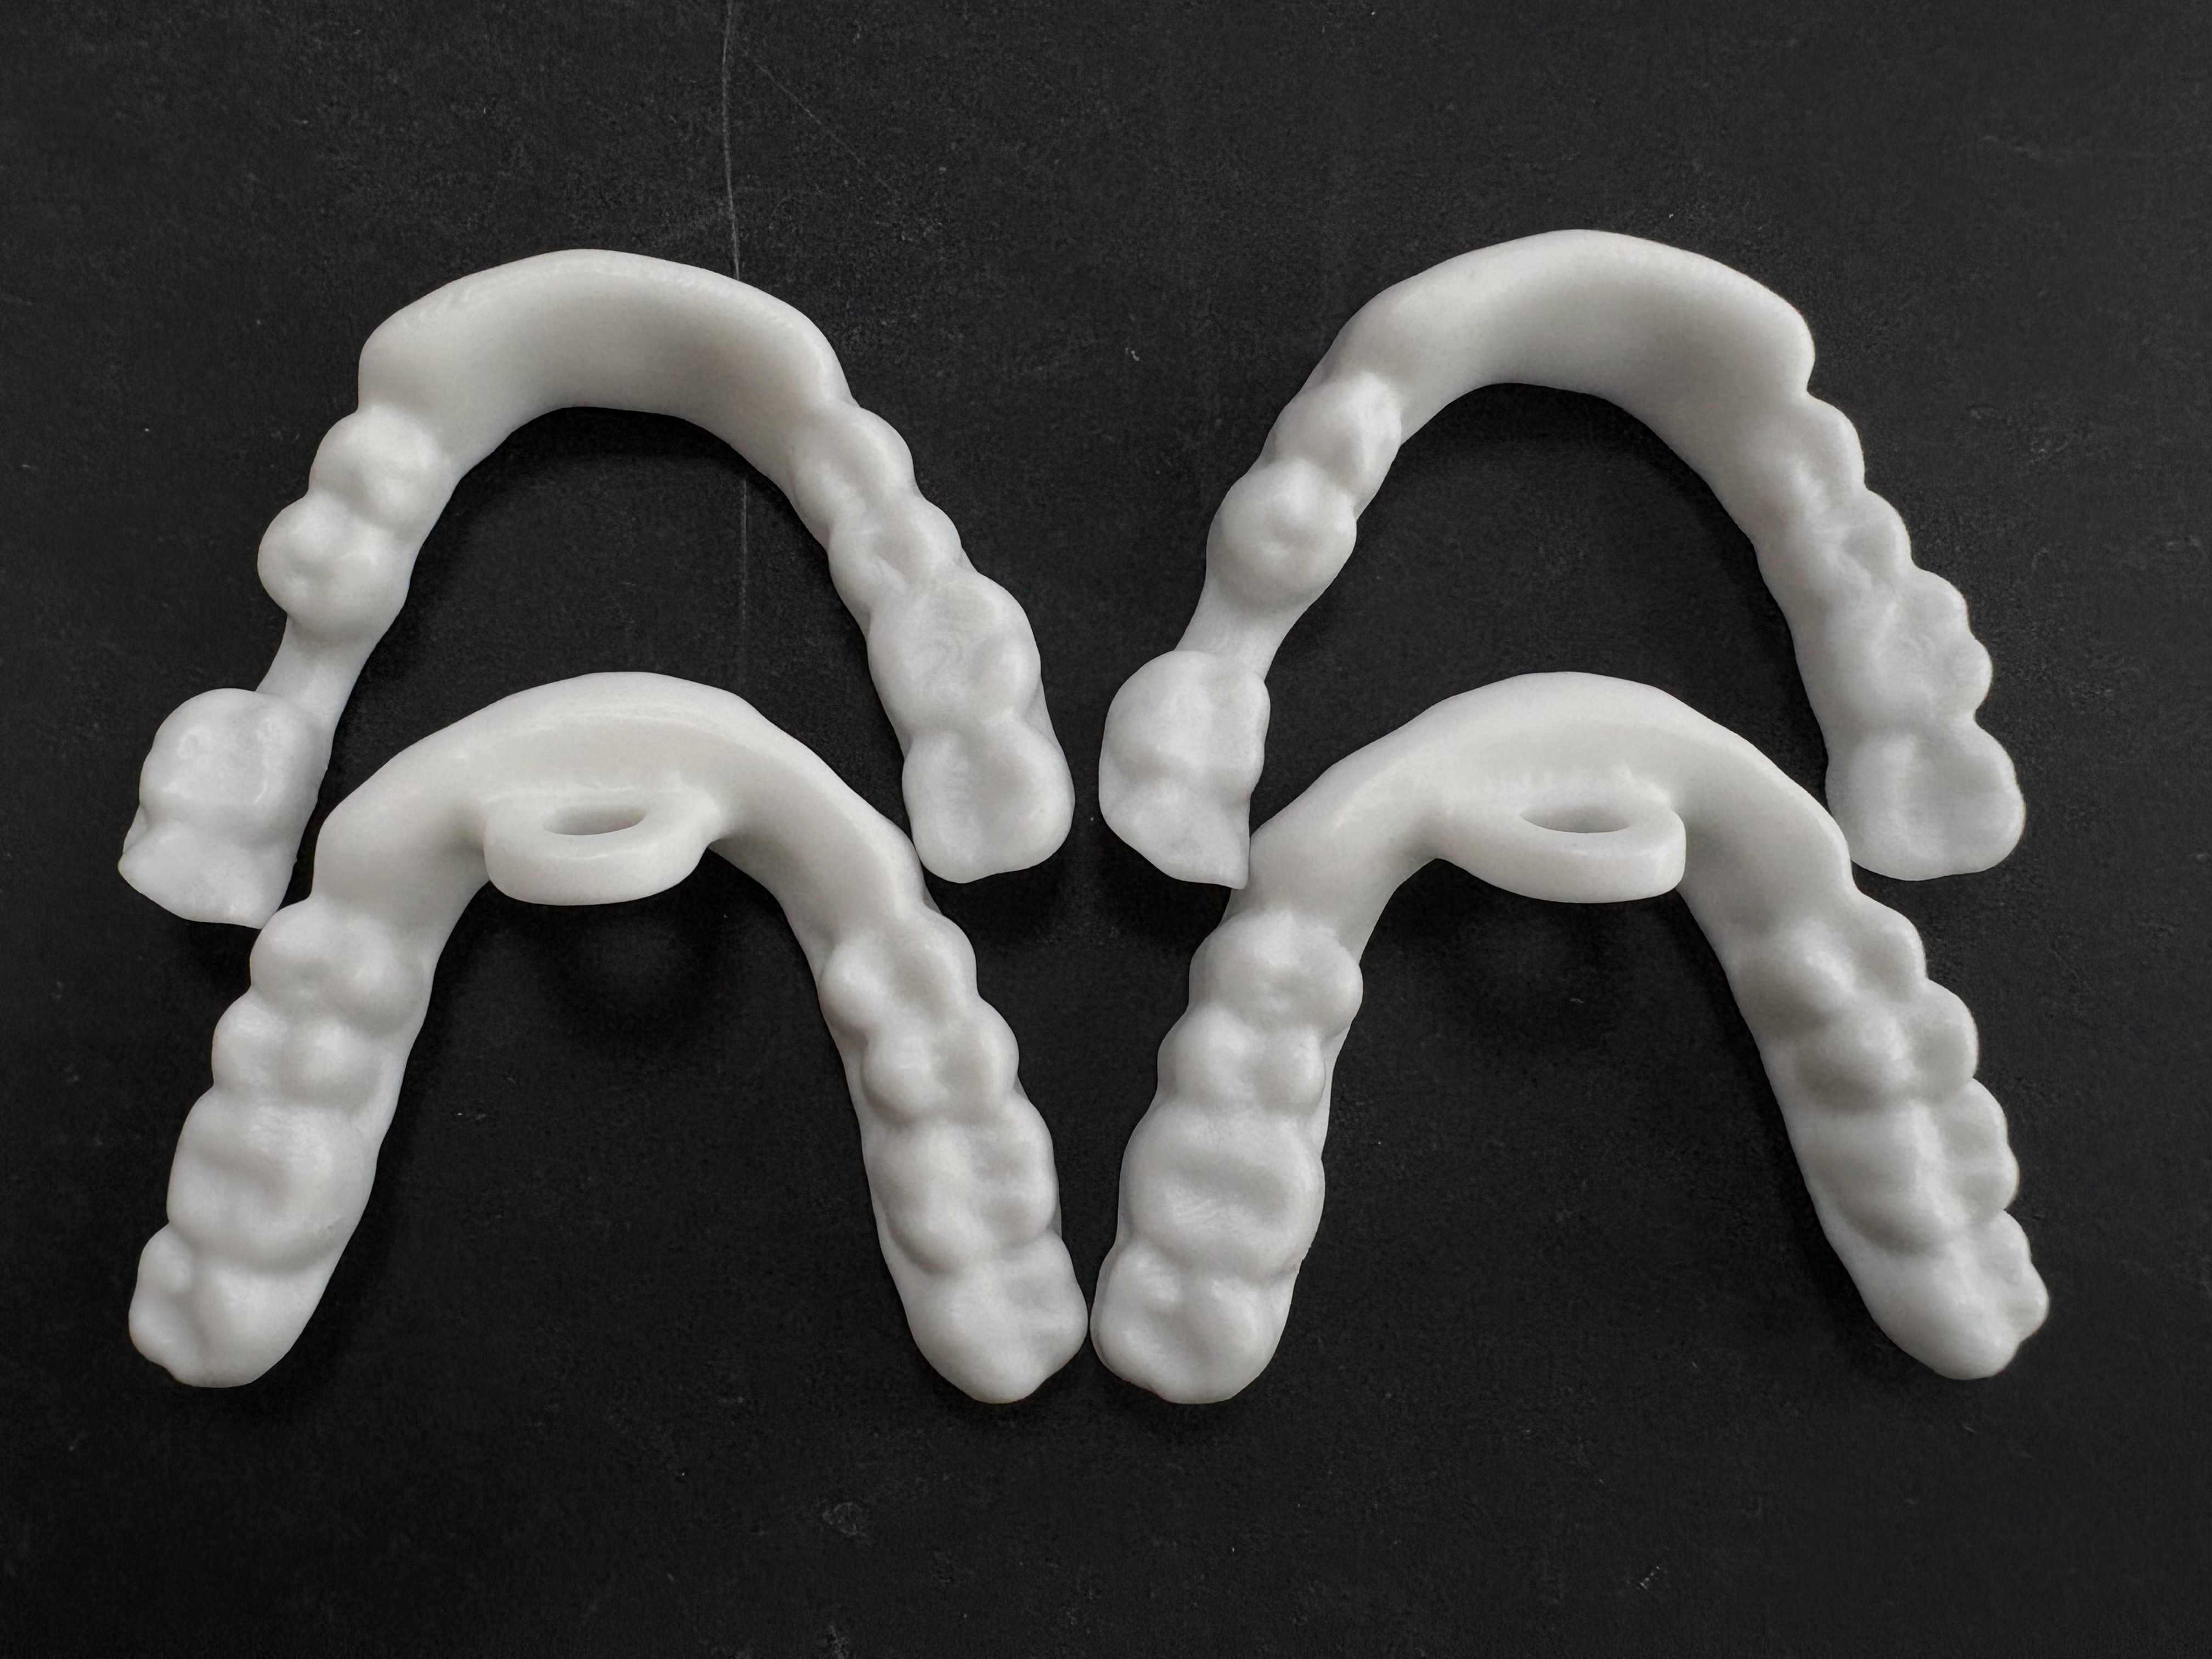
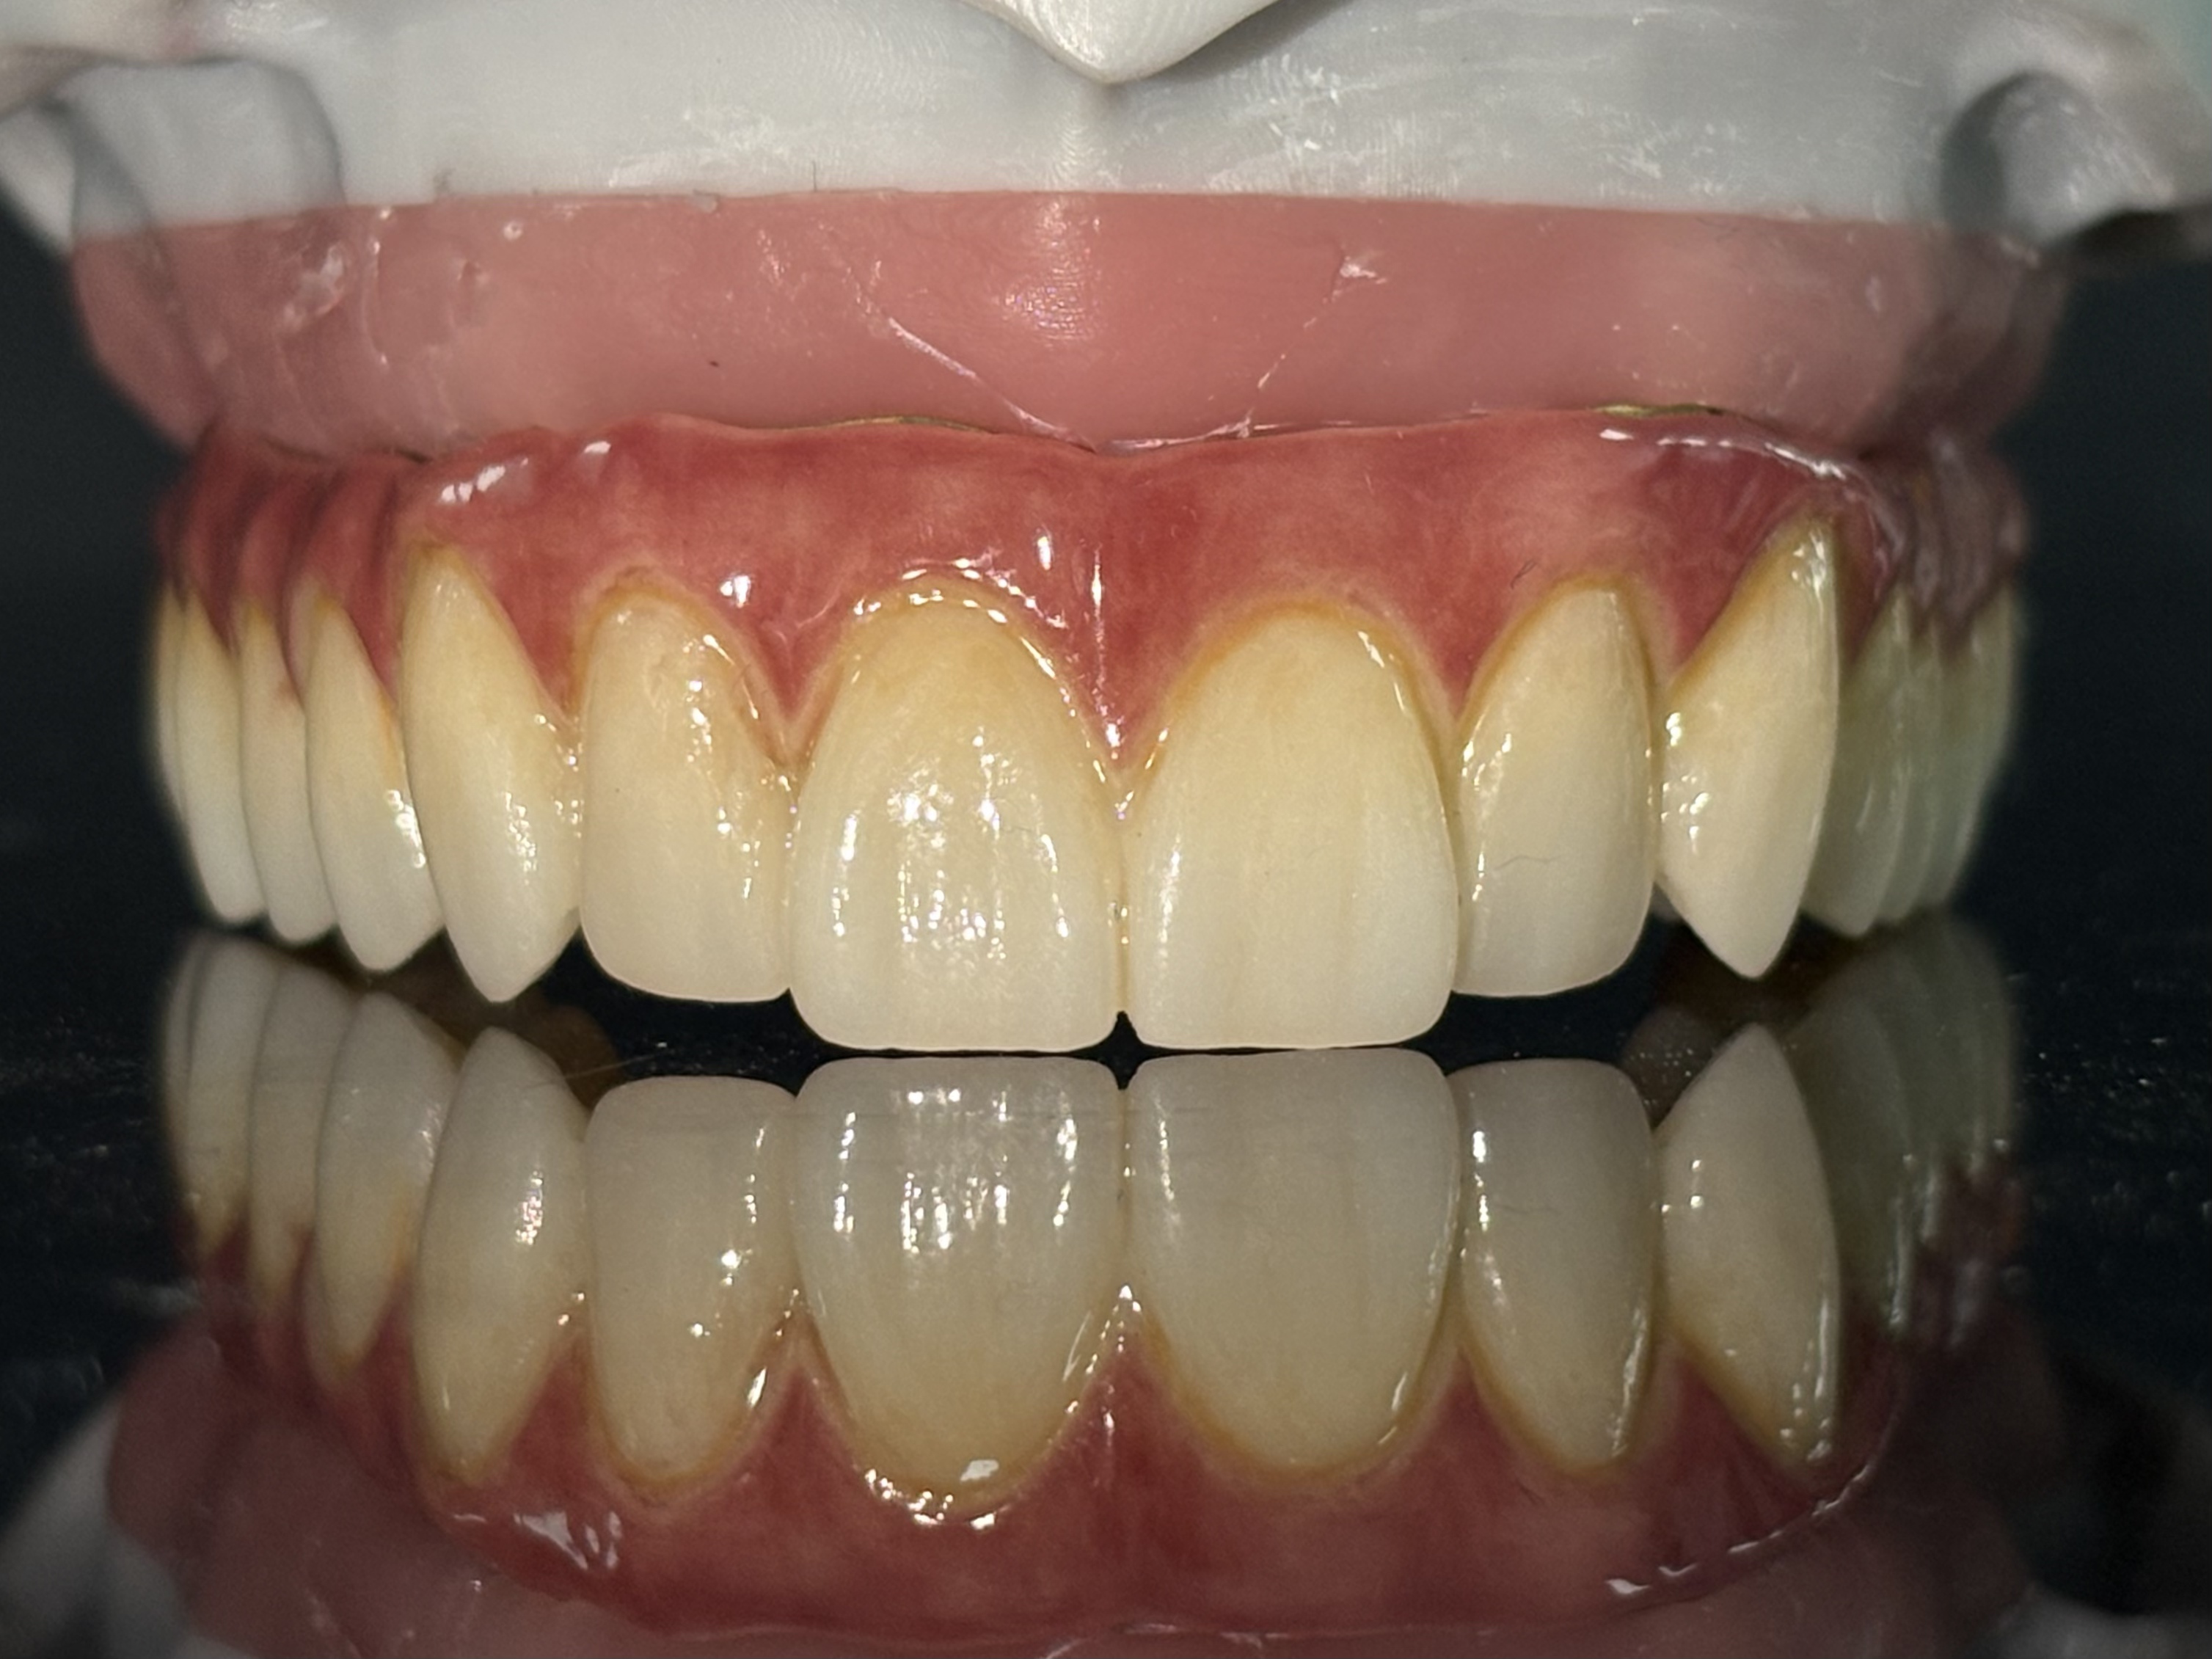
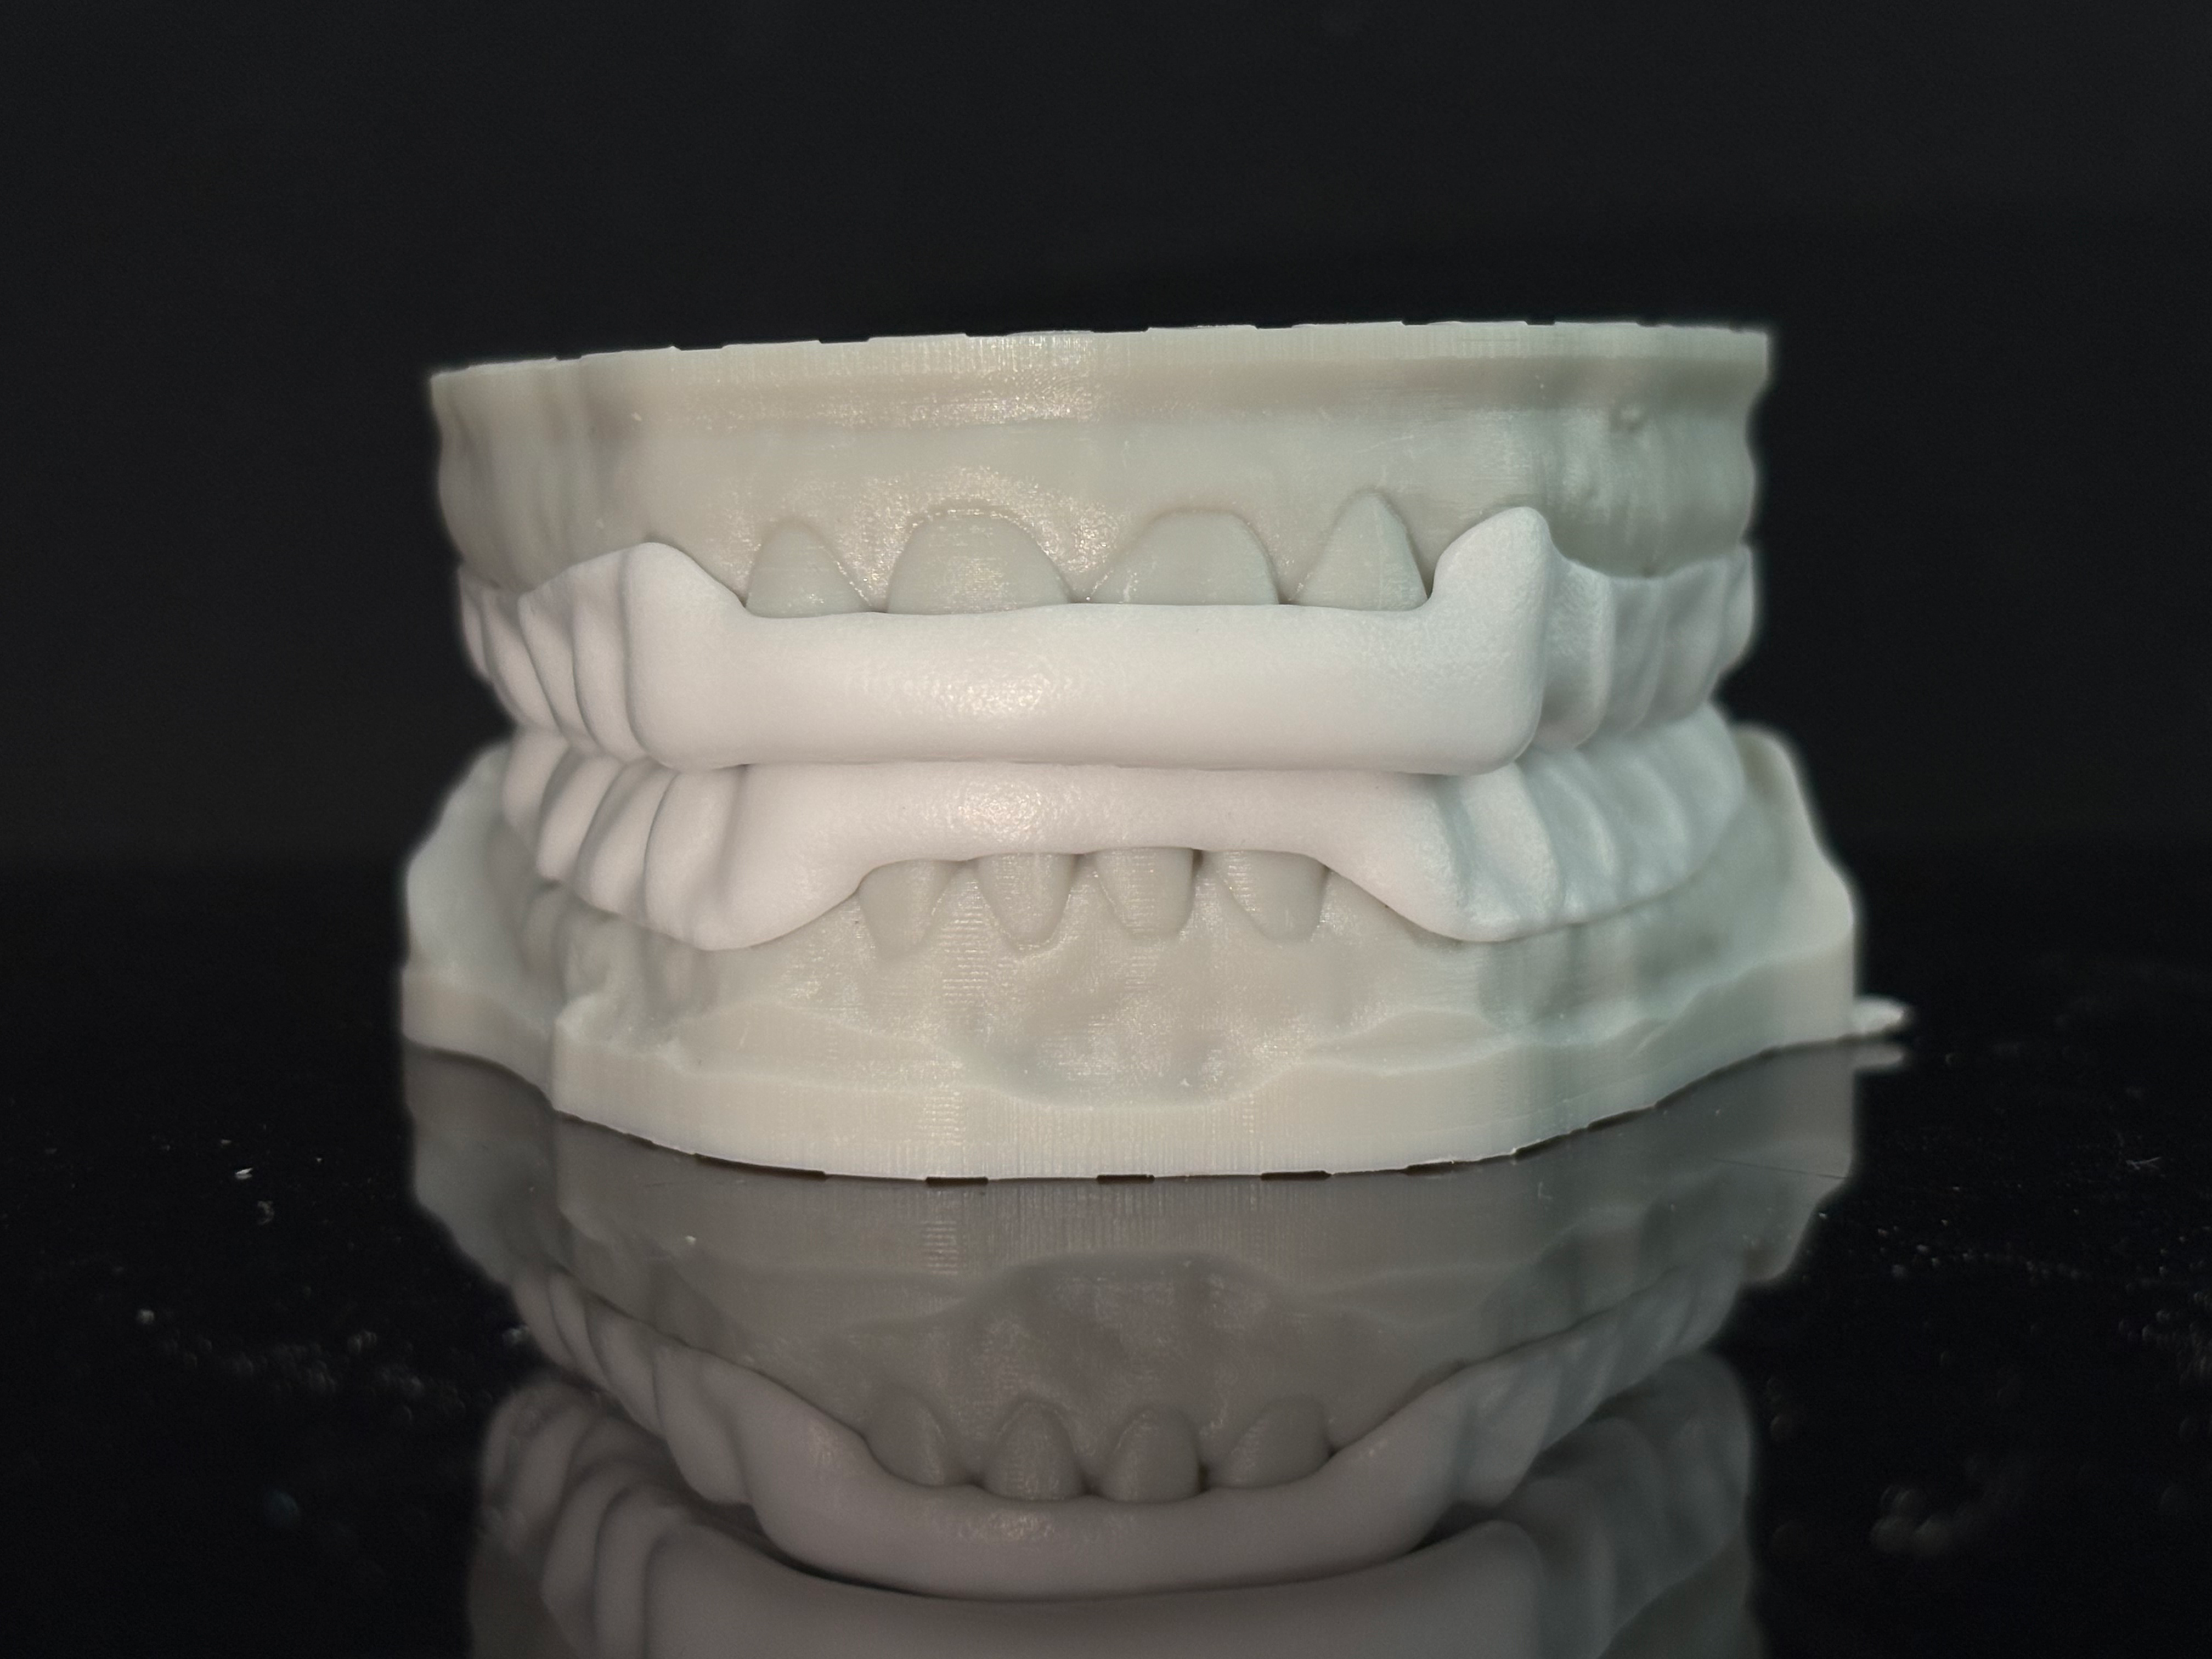
A complete denture wax try-in is a trial stage where the denture teeth are arranged in wax before final acrylic processing. The setup allows the dentist and patient to evaluate tooth arrangement, facial support, bite relationship and esthetics while changes are still easier to make.
The wax try-in is not the final denture. It does not mean all finishing, processing, polishing and final quality checks have already been completed. It is a preview and approval stage before the laboratory commits to final processing.
Times Dental Lab provides complete dentures and other removable dental restorations for clinics and dental laboratories. For removable cases, the try-in stage is especially valuable because tooth position, lip support, occlusion and patient feedback often need to be confirmed before final production.
Why the Wax Try-In Stage Matters
The wax try-in stage matters because tooth position and bite changes become more complex after final processing. Once the denture has been processed in acrylic, significant changes to the setup may require adjustment, reprocessing or a new production stage.
Clear approval also reduces unnecessary back-and-forth between the clinic and lab. A comment such as “looks fine” may not be enough if the lab still needs confirmation of midline, smile line, bite, shade or tooth mould. A written approval trail helps both teams understand what was accepted before processing.
Instruction changes requested after production begins are generally not treated the same way as production-related defects. Clinics can review the Times Remake & Guarantee Policy context before final approval, especially when a try-in revision may affect timing, remake status or chargeable changes.
Complete Denture Wax Try-In Checklist
The checklist below is written for communication with the dental laboratory. It does not replace the dentist’s clinical examination, patient-specific treatment plan or professional judgment.
|
Check Item |
What to Confirm Before Processing |
|
Base stability |
The wax base is stable enough for meaningful tooth and bite evaluation. |
|
Midline |
Dental midline is accepted or the required direction and amount of change are marked. |
|
Smile line |
Tooth display, incisal edge position and smile relationship are approved. |
|
Occlusal plane |
Plane and left-right balance match the clinical plan and facial references. |
|
Vertical dimension |
The dentist accepts vertical dimension and jaw relationship records. |
|
Lip support |
Facial profile, upper lip support and anterior tooth position are acceptable. |
|
Shade and mould |
Tooth shade, mould, size and brand or series are confirmed. |
|
Anterior setup |
Central incisors, laterals, canines, rotation, symmetry and characterization are approved. |
|
Posterior setup |
Posterior tooth arrangement, arch width, occlusal scheme and tongue space are reviewed. |
|
Phonetics |
Speech-related concerns are checked and recorded when relevant. |
|
Patient feedback |
Patient comments are converted into the dentist’s final written instruction. |
1. Verify the Denture Base Stability
The dentist should first check whether the wax base is stable enough to evaluate the setup. If the base moves obviously during try-in, other observations about tooth position, occlusion or phonetics may be unreliable.
When stability is poor, the clinic should document the issue and tell the lab whether a new record, adjusted base or new try-in is required. The lab should not assume that a moving base still represents approved clinical records.
2. Confirm the Midline
The midline should be reviewed against the face, lips and dental setup. If the midline needs adjustment, the direction and approximate amount should be written clearly, such as move upper midline slightly to patient’s left.
Marked photos are more useful than text alone. A face photo with a clear vertical reference can reduce misunderstanding when the laboratory technician revises the anterior setup.
3. Review the Smile Line and Tooth Display
The smile line review should include tooth display at rest, tooth display during smiling, anterior tooth length, gingival display and the relationship between the incisal curve and lower lip. Tooth display can strongly affect whether the patient feels the denture looks natural.
Patient feedback is helpful, but the final instruction should come from the dentist. The lab needs a clinical decision, not only a patient comment such as “teeth look too long” without a marked correction.
4. Check the Occlusal Plane
The occlusal plane should be reviewed with the case’s facial and functional references. If adjustment is required, the clinic should identify whether the issue is anterior, posterior, left side, right side or a general plane change.
A PMC article on occlusal plane determination notes the importance of occlusal plane orientation in edentulous patients and discusses common facial reference lines. For lab communication, this supports documenting the actual change needed instead of simply writing “fix plane.”
5. Confirm Vertical Dimension and Jaw Relationship
Vertical dimension and jaw relationship should be accepted before final processing. The dentist may review facial appearance, interarch space, comfort, phonetics and the prescribed centric relation or jaw relationship according to the treatment plan.
A recent PMC review on vertical dimension in prosthodontics explains that vertical dimension affects esthetics, phonetics, function and patient comfort. If the bite record is unreliable at try-in, the clinic should send a corrected bite record before the lab processes the final denture.
6. Evaluate Lip Support and Facial Profile
Lip support should be checked from the front and side. The dentist may evaluate upper lip fullness, anterior tooth inclination, incisal edge position, cheek support and whether the setup makes the profile look overfilled or under-supported.
When a change is needed, the clinic should describe the target area clearly. For example, “reduce upper anterior labial fullness” is more useful than “make it less bulky.”
7. Review Tooth Shade and Mould
Tooth shade, mould, size and anterior tooth shape should be confirmed before final processing. If the clinic wants to change a brand, tooth series, shade or mould, that change should be written clearly and approved before the case continues.
A shade or mould change after processing may require additional work and may not fall under production-related remake support. The lab should keep the confirmed shade and mould with the case record.
8. Check Anterior Tooth Arrangement
Anterior tooth arrangement includes central incisors, lateral incisors, canines, symmetry, rotation, incisal level and characterization. Some patients prefer a very regular setup, while others want the denture to copy features of an old denture or natural smile.
The clinic should return marked photographs when anterior esthetics need revision. A short note such as “improve smile” does not tell the technician which teeth to move, rotate, shorten or characterize.
9. Review Posterior Tooth Setup and Occlusion
Posterior setup should be reviewed according to the dentist’s occlusal plan. The check may include posterior tooth arrangement, left and right contacts, arch width, tongue space, buccal corridor and obvious areas requiring lab revision.
This article does not prescribe one occlusal scheme for every case. The clinic should tell the lab what was approved, what must be changed and whether a new try-in is required after occlusal adjustment.
10. Evaluate Phonetics
Phonetic evaluation can help the dentist assess whether anterior tooth position, vertical dimension and palatal contour may need further review. The clinic may record observations from sounds such as F, V and S when those sounds are relevant to the clinical check.
A PMC article on phonetic evaluation in prosthodontics discusses verification of recorded dimensions, tooth arrangement and occlusal plane in relation to speech testing. For the lab, the useful instruction is the specific change requested after the dentist interprets the phonetic findings.
11. Obtain Patient Feedback
Patient feedback should be collected before final processing, especially for appearance, shade, tooth size, smile display and lip support. However, patient comments should be translated into a clear clinical instruction before they are sent to the lab.
For example, “patient wants a younger smile” should become a practical lab note such as “slightly increase upper anterior tooth display and send new try-in for approval.”
How to Document Wax Try-In Changes
Wax try-in feedback should tell the lab which path to follow: approve, revise or prepare a new try-in. A clear decision prevents the case from moving into final processing while important changes are still unresolved.
|
Feedback Option |
Meaning |
What the Clinic Should Send |
|
Approved as is |
The setup can proceed to final processing. |
Written approval, confirmed shade and delivery request. |
|
Approved with changes |
The case may proceed after listed adjustments. |
Specific tooth positions, directions, measurements and marked photos. |
|
New try-in required |
The clinic wants to review the revised setup before processing. |
Clear change list and confirmation that processing should wait. |
|
Do not process |
New bite or records will be sent. |
Updated bite, scan, impression, photos or prescription details. |
Useful change records include the specific tooth position, adjustment direction, approximate amount, marked photos, new bite record, new shade or mould, and whether another try-in is requested.
What Should Be Returned to the Dental Lab?
When returning a wax try-in, the clinic should send both the physical or digital try-in record and the written approval decision. The lab needs enough information to know whether the case is ready for processing or still in the revision stage.
· Complete wax try-in.
· Written approval or change request.
· Marked photographs.
· Updated bite record when required.
· New midline or smile-line references.
· Confirmed shade and tooth mould.
· Requested delivery date.
· Contact person responsible for approval.
For first-time or outsourcing cases, review the removable denture lab outsourcing checklist before sending records so the try-in does not arrive without bite, shade, photos or approval instructions.
Common Wax Try-In Approval Problems
|
Problem |
Why It Delays Final Processing |
|
Prescription only says “looks fine” |
The lab may still need formal processing approval. |
|
Midline change has no direction |
The technician cannot know whether to move left or right. |
|
Photos do not show face or smile |
Smile line and tooth display cannot be reviewed clearly. |
|
Bite is rejected but no new bite is sent |
The lab cannot correct jaw relationship from comments alone. |
|
Shade is changed without a replacement shade |
The lab cannot order or select teeth confidently. |
|
Patient comments lack dentist instruction |
The lab needs final clinical direction, not raw feedback only. |
|
Processing requested while changes remain unresolved |
The case may enter a stage where later changes are harder. |
|
Changes requested after processing starts |
The request may become chargeable under remake-policy logic. |
How Times Dental Lab Handles Wax Try-In Feedback
Times Dental Lab handles wax try-in feedback as an approval and production-control step. The goal is to make sure tooth setup, bite, esthetics and requested changes are clear before the case moves into final processing.
· Review the returned try-in and instructions.
· Compare feedback with the original prescription.
· Check photographs and marked references.
· Confirm unclear changes before adjusting the setup.
· Revise tooth position, bite or esthetic details as instructed.
· Provide another try-in when requested.
· Begin final processing only after approval.
New clients can review Times Dental Lab’s How to Start guide before sending removable cases, especially when approval contacts, shipment steps or first-case workflow need to be confirmed.
Wax Try-In Approval and the Remake Policy
Wax try-in approval records help separate production-related issues from changed instructions. Trial cases should follow the same communication discipline as regular production: records should be complete, instructions should be written, and approval should be saved with the case.
Changes requested after production starts are not usually treated as manufacturing defects. Missing occlusal records, unclear shade selection and incomplete instructions may also fall outside covered remake scope. For this reason, the wax try-in is the best stage to document tooth position, occlusion, esthetics and patient feedback before final processing.
For policy-related questions, clinics should review the Times Remake & Guarantee Policy and contact the customer service team before requesting final processing when major changes remain unresolved.
Frequently Asked Questions
What should be checked at a complete denture wax try-in?
A complete denture wax try-in should be checked for base stability, tooth position, midline, smile line, occlusal plane, vertical dimension, jaw relationship, lip support, phonetics, shade, tooth mould, posterior setup and overall esthetics before final processing.
Can the tooth shade be changed after the wax try-in?
Tooth shade can often be changed before final processing if the clinic sends a clear replacement shade and approval instruction. A shade change after final processing may require additional work and may not be handled as a production-related remake.
What happens if the bite is incorrect at try-in?
If the bite is incorrect at try-in, the clinic should not approve final processing. The dentist should provide a corrected bite record or clear jaw-relationship instruction so the lab can revise the setup or prepare another try-in.
Should the patient approve the denture appearance?
Patient feedback is important for complete denture appearance, but the final clinical approval should come from the treating dentist. The lab should receive the dentist’s written instruction, not only general patient comments.
When is a second wax try-in needed?
A second wax try-in may be needed when major changes are requested to tooth position, bite, vertical dimension, midline, smile line, shade, mould or esthetics, and the clinic wants to review the revision before final processing.
What records should be returned to the dental lab?
The clinic should return the complete wax try-in, written approval or revision request, marked photographs, updated bite record when required, confirmed shade and tooth mould, requested delivery date and approval contact.
Can tooth position be changed after final processing?
Tooth position changes are usually easier before final processing. After processing, significant tooth-position changes may require additional adjustment, reprocessing or a new production stage, depending on the case and laboratory review.
Conclusion
The complete denture wax try-in is the key approval stage before final processing. Tooth position, bite, esthetics and patient feedback should be checked and documented while the setup can still be revised more efficiently.
A vague “approved” note cannot replace specific clinical confirmation. When Times Dental Lab receives complete approval records, marked photos and confirmed bite, shade and tooth mould information, the removable team can proceed with fewer misunderstandings and fewer avoidable remake risks.